
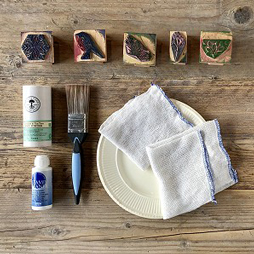
Stamping with Multiple Colours
You needn’t limit yourself to just one colour when inking with our stamps.
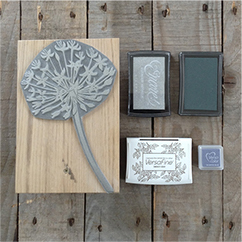
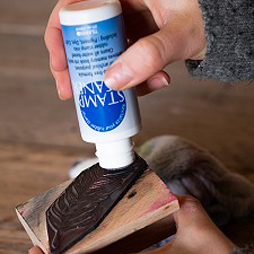
1. Choose the colours you wish to use. VersaColor mini cube inkpads are useful for this technique because you can apply the ink precisely using the edges of their raised ink pad. You can also use any of our Raised Ink Pads

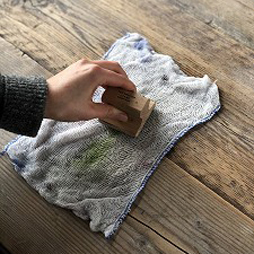
2. Apply the first ink colour to your stamp, making sure to remove any excess ink that gets in to unwanted parts of the stamp using a cloth or cotton tip.
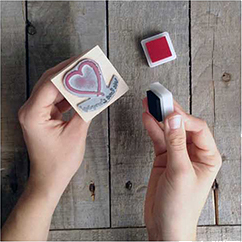
3. Apply the second ink, being careful not to mix the colours. If you need to add particularly fine details it might be useful to use the eraser on the end of a pencil or similar.

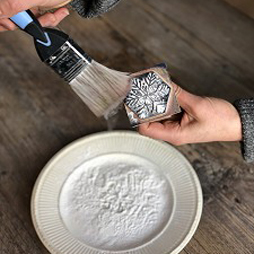
4. When you’re satisfied that your design is inked up accurately, stamp it onto your chosen surface.
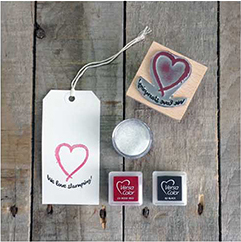
5. If stamping onto paper or card you can also add a plain or sparkly clear embossing powder to give it a raised effect.
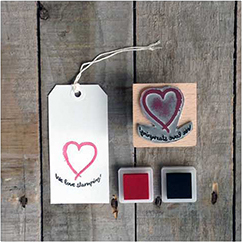
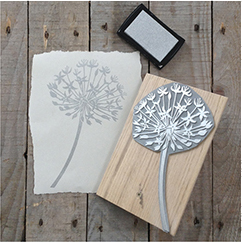
6. The finished effect!
View our page on caring for your stamps to make them last longer.
Inking Large Stamps
To ink larger stamps, you can use inkpads that have their pads raised a few millimetres above the plastic.
Large stamps work well but do require more patience and practice. You will get the best results using this inking technique and working above your project, i.e. standing up and working on a regular height table so you can use your body weight to push down on the stamp.
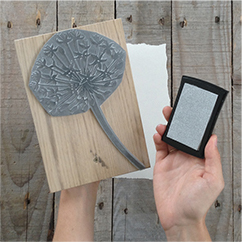
1. Hold the stamp face up in one hand and the ink pad in the other.
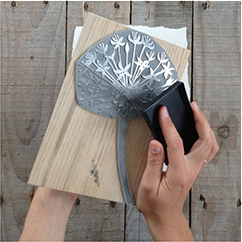
2. Using a dabbing movement, cover the stamp with the ink pad. Don’t push too hard as you risk flooding your design.
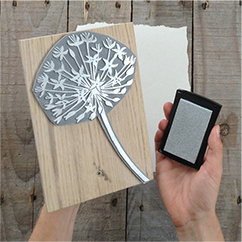
3. The stamp is now fully inked.

4. Hold the stamp carefully over the surface to be stamped. Press down with a even amount of pressure.
Inking Large Stamps
To ink larger stamps, you can use inkpads that have their pads raised a few millimetres above the plastic.
Large stamps work well but do require more patience and practice. You will get the best results using this inking technique and working above your project, i.e. standing up and working on a regular height table so you can use your body weight to push down on the stamp.
1. Hold the stamp face up in one hand and the ink pad in the other.
2. Using a dabbing movement, cover the stamp with the ink pad. Don’t push too hard as you risk flooding your design.
3. The stamp is now fully inked.
4. Hold the stamp carefully over the surface to be stamped. Press down with a even amount of pressure.
With the correct care, your stamps will last for years. We have some that are over 20 years old and still in great condition!
You should never wash a mounted stamp under the tap as the rubber can come away from the cushion.
For more guidance and product information read our Blog on How To Clean Your Stamps.
Our stamps work best when used gently. Dab your stamp with the ink pad. This gives a better result as you are less likely to flood your design.
We only recommend the ink pads sold on our website. If you intend to use a different medium, you will need to check with the manufacturer that the product is suitable. DO NOT use any chemicals or spirits on your stamps!
We test print all custom stamps before sending them out for delivery. You should find this test print on your paper invoice.